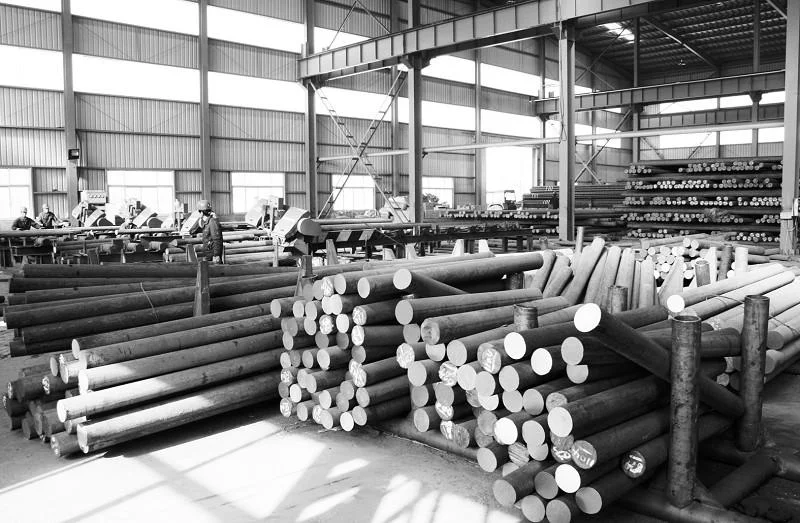
Inspection and Cleaning of Surface Defects of Seamless Steel Tube Billet
Microstructure of seamless steel tube
For the production of alloy steel pipes and high-alloy steel pipe billets, in addition to checking the low-magnification structure, the microstructure (high-magnification) inspection is also required to determine the content of non-metallic inclusions (sulfides, oxides and nitrides) And its distribution pattern, the inspection results should meet the requirements of relevant standards.

Inspection and Cleaning of Surface Defects of Seamless Steel Tube Billet
Surface defects (scars, pits, grooves, cracks, etc.) of the tube blank are generally inspected by artificial naked eyes (if there are special requirements, non-destructive testing methods are required), and then the defects are cleaned up. In order to prevent missed inspection, the surface of the tube can also be inspected and cleaned after pickling or shot blasting (sand blasting) to remove the surface oxide scale.
There are three main methods for cleaning the surface defects of seamless steel pipe billets: flame cleaning, grinding wheel grinding and turning cleaning. Flame cleaning is used for carbon steel pipe billets that are not sensitive to cracks; steel types that are more sensitive to cracks, such as high alloy steel pipe billets, are cleaned by grinding wheels; some special steel types, such as stainless steel and corrosion-resistant alloy pipes Blanks, etc., need to be cleaned by surface turning and peeling.
When the tube blank is cleaned by turning or grinding wheel grinding, the metal consumption is large and the efficiency is low, but the surface quality of the cleaned tube blank is good. When the flame method is used to clean the tube blank, the efficiency is high, but the surface quality of the cleaned tube blank is not as good as that cleaned by turning or grinding wheel grinding.


